Picking
Table of Contents
Use case #
Picking mode allows Associates to fulfill customer orders by picking products from the ASRS.
Picking is represented in the System as a series of inventory moves from source to target cells.
Instock supports two modes of picking:
- ASRS bin → ASRS bin: pick from source bins of the ASRS and place into target bin(s) in the ASRS.
- ASRS bin → external container: pick from source bins of the ASRS and place into external target container(s) that are not ASRS bins.
The source cell is always in an ASRS bin. However, depending on the pickng mode, the target cell can be in either an ASRS bin or in an external container.
To ensure fast and accurate picking Instock ASRS is configured to:
- not allow mixing multiple products in a single cell,
- not require the Associate to scan the product for each new line while picking an order. Instead, the System clearly indicates products and their quantity in each line and requires confirmation from Associate upon completion of each pick cycle.
Workflow #
Picking to ASRS #
If your site is configured to ASRS bin → ASRS bin mode, then a recommened configuration for Instock ASRS 4-channel workstation will be 3-source-1-target. A 3→1 configuration means three channels are allocated for source bins and the fourth channel for target bin.

- Associate activates picking mode. If the fulfillment queue is empty, Incloud displays “No open fulfillment orders” message.
- Incloud calls to the workstation the next customer order in the FIFO queue that is not completely picked. Not completely picked may mean the customer order has zero lines picked so far, or the customer order has some items picked in the previous picking sessions. Incloud displays status of the order, e.g. “Fulfilling order #12345”.
- Three robots with source bins and one robot with an empty bin drive towards the workstation. Incloud screen displays “Summoning robots” message. One customer order may take several target bins.
- Incloud displays quantity, from which channel & cell to pick, and to which channel to put. The put-to-light button is glowing only on put channel.
- Associate picks required quantity from source to target.
- Associate presses put-to-light button after the pick cycle is complete to release the bin back into the ASRS.
- Robots with source bins rotate as needed to present required inventory.
- Incloud updates UI as soon as pick cycle is completed and the next source bin is available. If the pick cycle is completed but the next source bin is not available, Incloud displays “Summoning robots” message.
- If the target bin is full, the Associate taps on “Bin is full” button. Incloud then rotates bins in the target channel to present an empty bin.
- Associate may tap on any cell of the source bin in the UI at any moment and correct the quantity or tap “empty”. Incloud will generate an adjustment order.
- If the Associate encounters a short-pick (e.g. Incloud requires to pick 3 pcs when only 2 are left in the cell of source bin), the Associate can adjust the quantity on the fly. The Associate taps on the source cell and inputs the correct quantity. A corresponding adjustment order is created.
- When order picking is done, the robot with the target bin leaves the workstation.
- When several workstations operate in picking mode simultaneously, a single fulfillment order will not be split between workstations.
Picking to external container #
If your site is configured for ASRS bin → external container, then all channels of a workstation will be used for source bins, while target cells are in containers outside of the Instock ASRS.

- Associate activates picking mode. If the customer order FIFO queue is empty, Incloud displays “No open customer orders” message.
- Incloud calls the next customer order to the workstation. Incloud displays status of the order, e.g. “Picking customer order #12345”.
- Robots with source bins drive toward the workstation. Incloud UI displays “Summoning robots” message.
- UI displays source channel, cell and item quantity for the pick.
- Associate scans target container ID. If one order requires multiple target containers, associate can add several containers. At any time while picking an order, Associate may switch between target containers.
- Associate picks required quantity from the source bin to the target container.
- Associate presses put-to-light button after the pick cycle is complete to release the bin back into the ASRS.
- Robots with source bins rotate as needed to present required inventory.
- Incloud updates UI as soon as pick cycle is completed and the next source bin is available. If the pick cycle is completed but the next source bin is not available, Incloud displays “Summoning robots” message.
- Associate may tap on any cell of the source bin in the UI at any moment and correct the quantity or tap “empty”. Incloud will generate an adjustment order.
- If the Associate encounters a short-pick (e.g. Incloud requires to pick 3 pcs when only 2 are left in the cell of source bin), the Associate can adjust the quantity on the fly. The Associate taps on the source cell and inputs the correct quantity. A corresponding adjustment order is created.
- When an order is completely picked, an Associate must scan a new target container to proceed with picking a new customer order.
- When several workstations operate in picking mode simultaneously, a single fulfillment order will not be split between workstations.
Exit workflow #
Associate has two ways to exit picking mode:
- Change mode
- Logout
Pick customer orders #
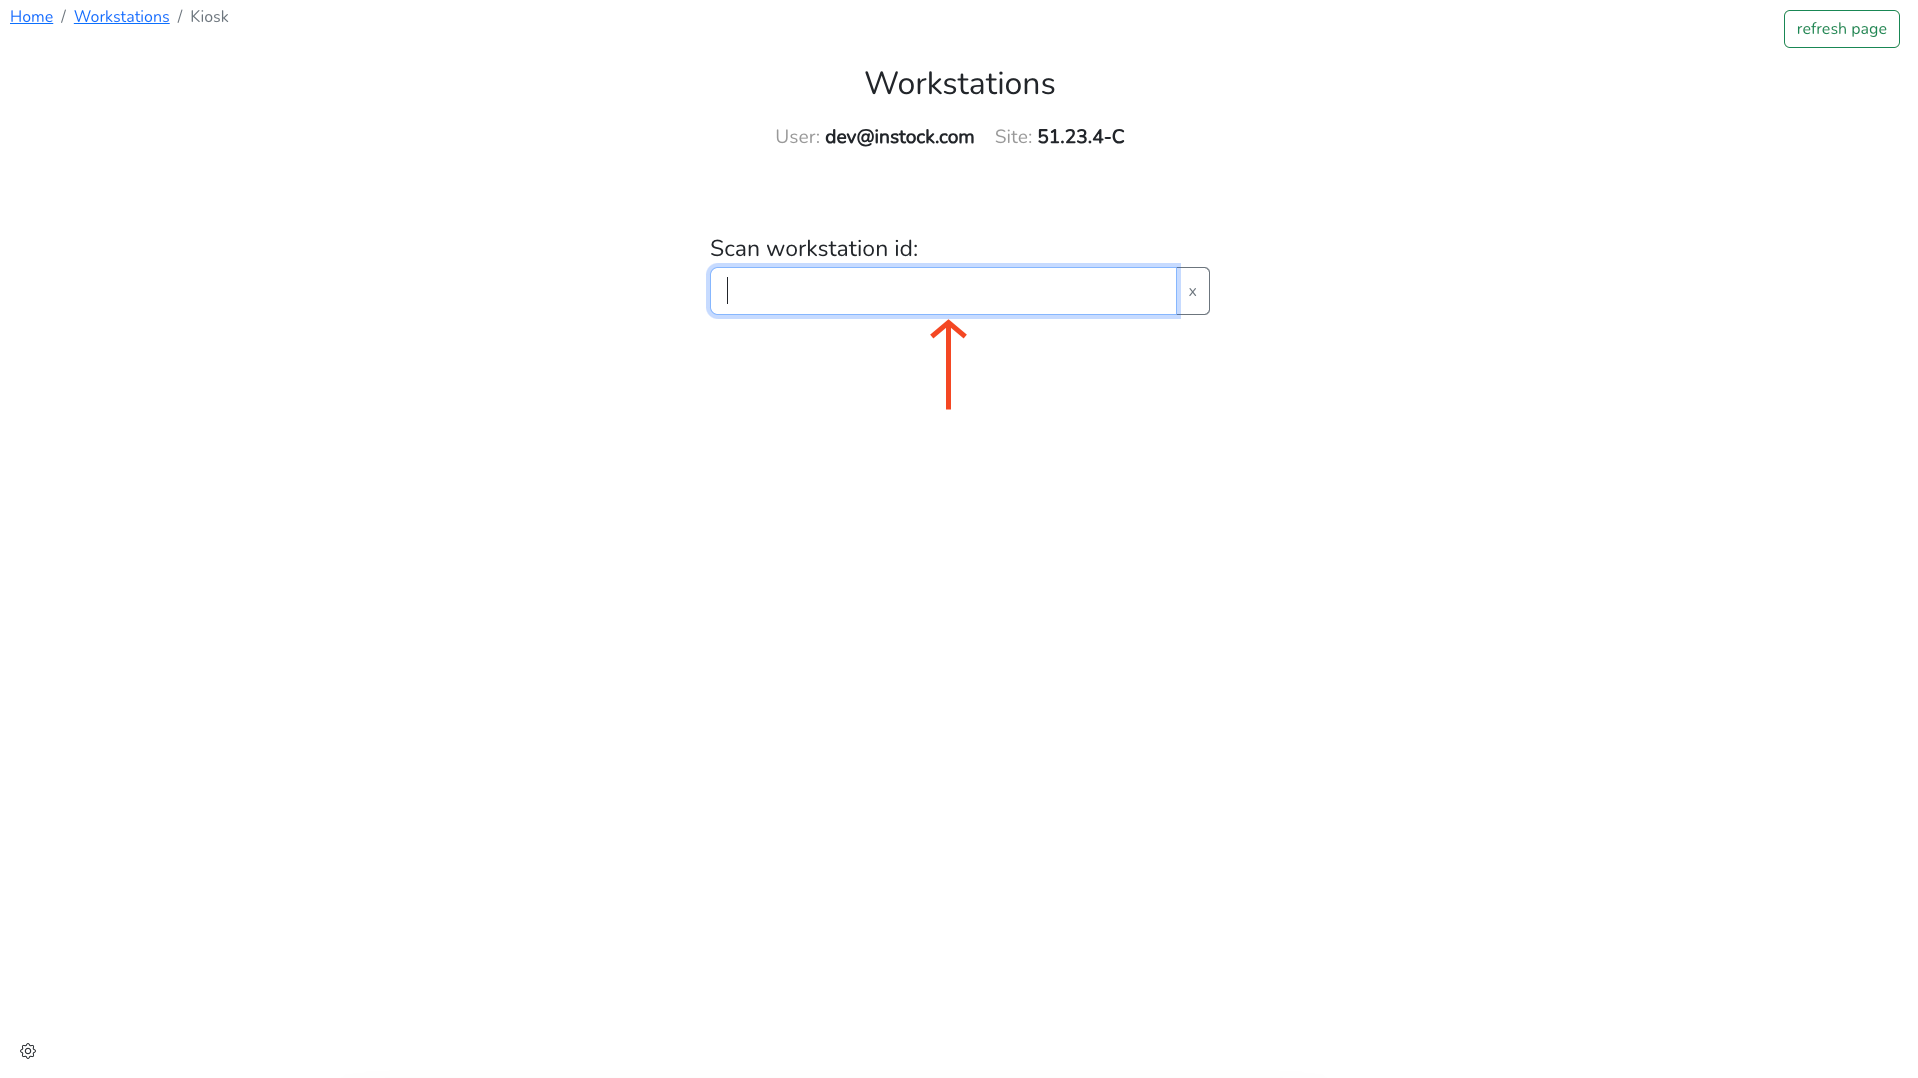
- Scan workstation ID to begin worksession
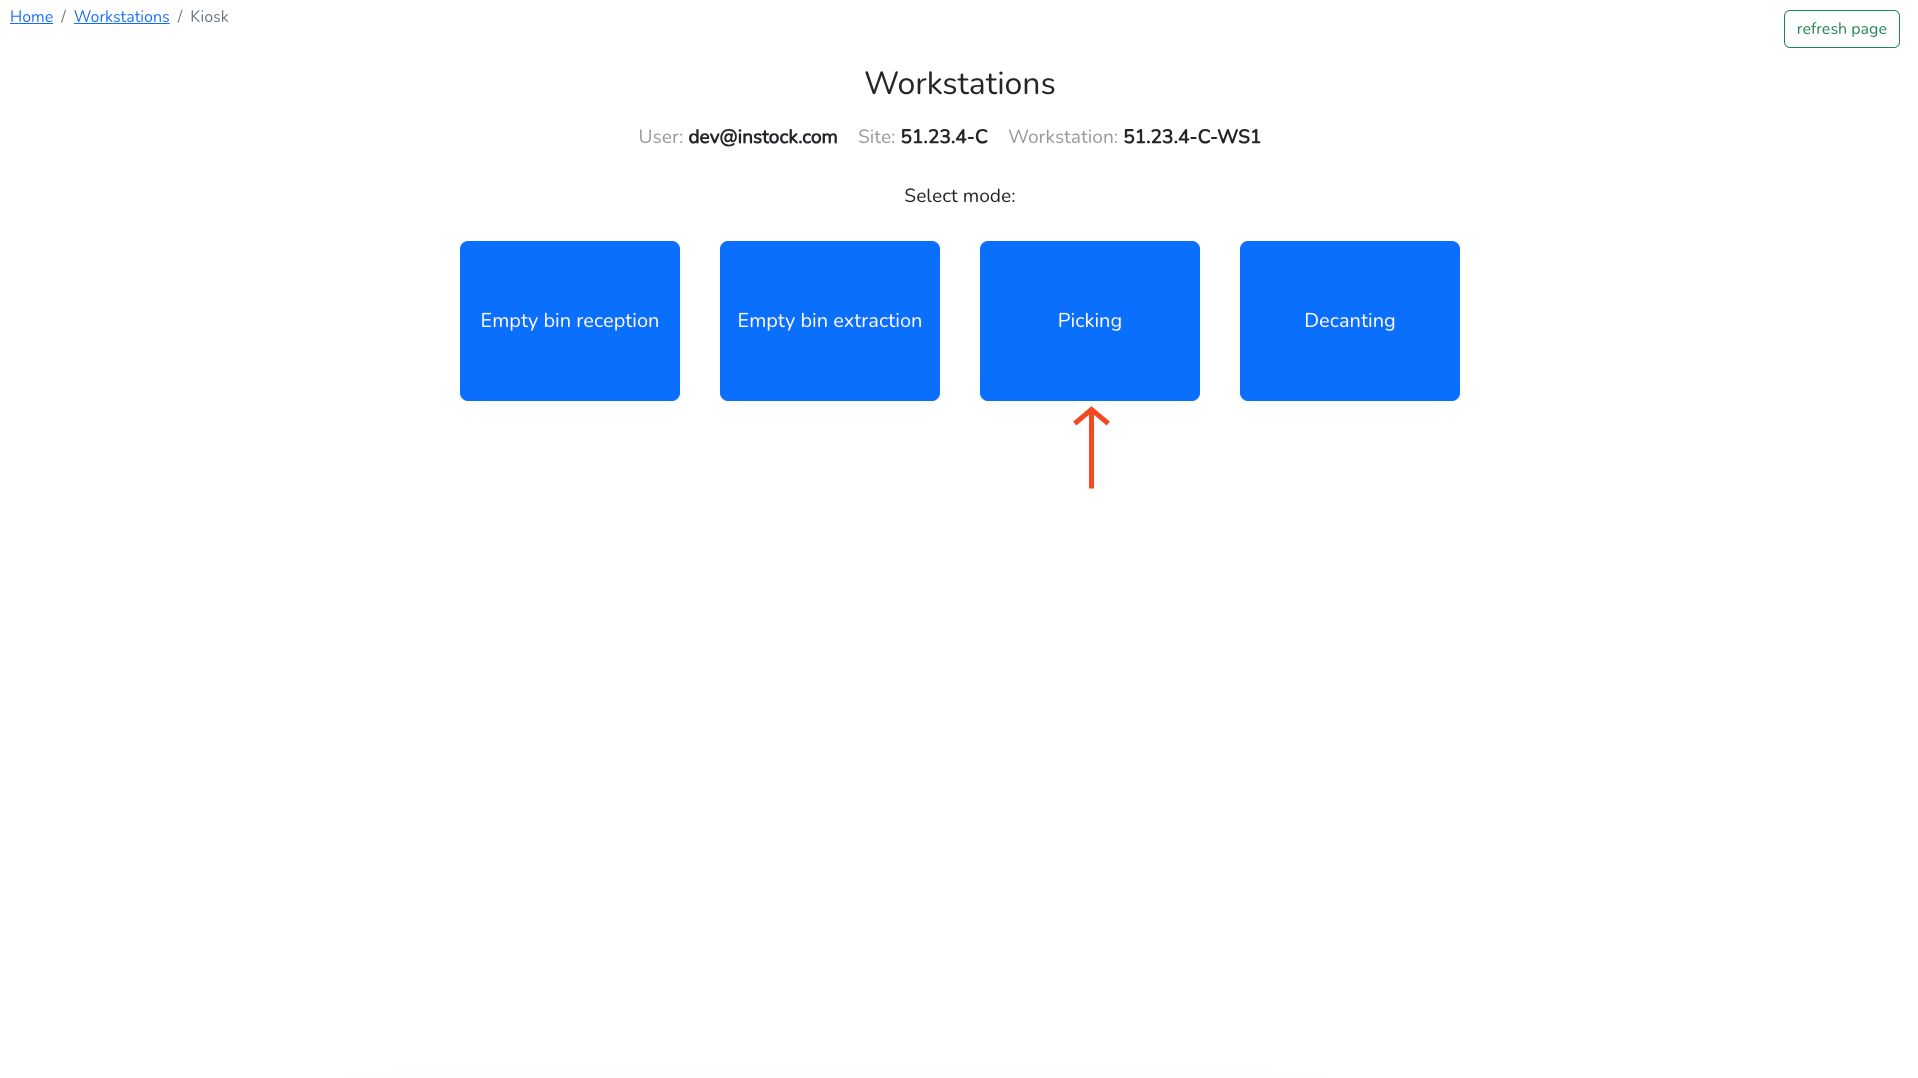
- Select “Picking” mode
- Wait for robots to arrive at the workstation
- As soon as robot arrive to the workstation channel, you will see:
- Order ID
- Quantity of lines within the order
- Article photo, quantity to pick, ID, name
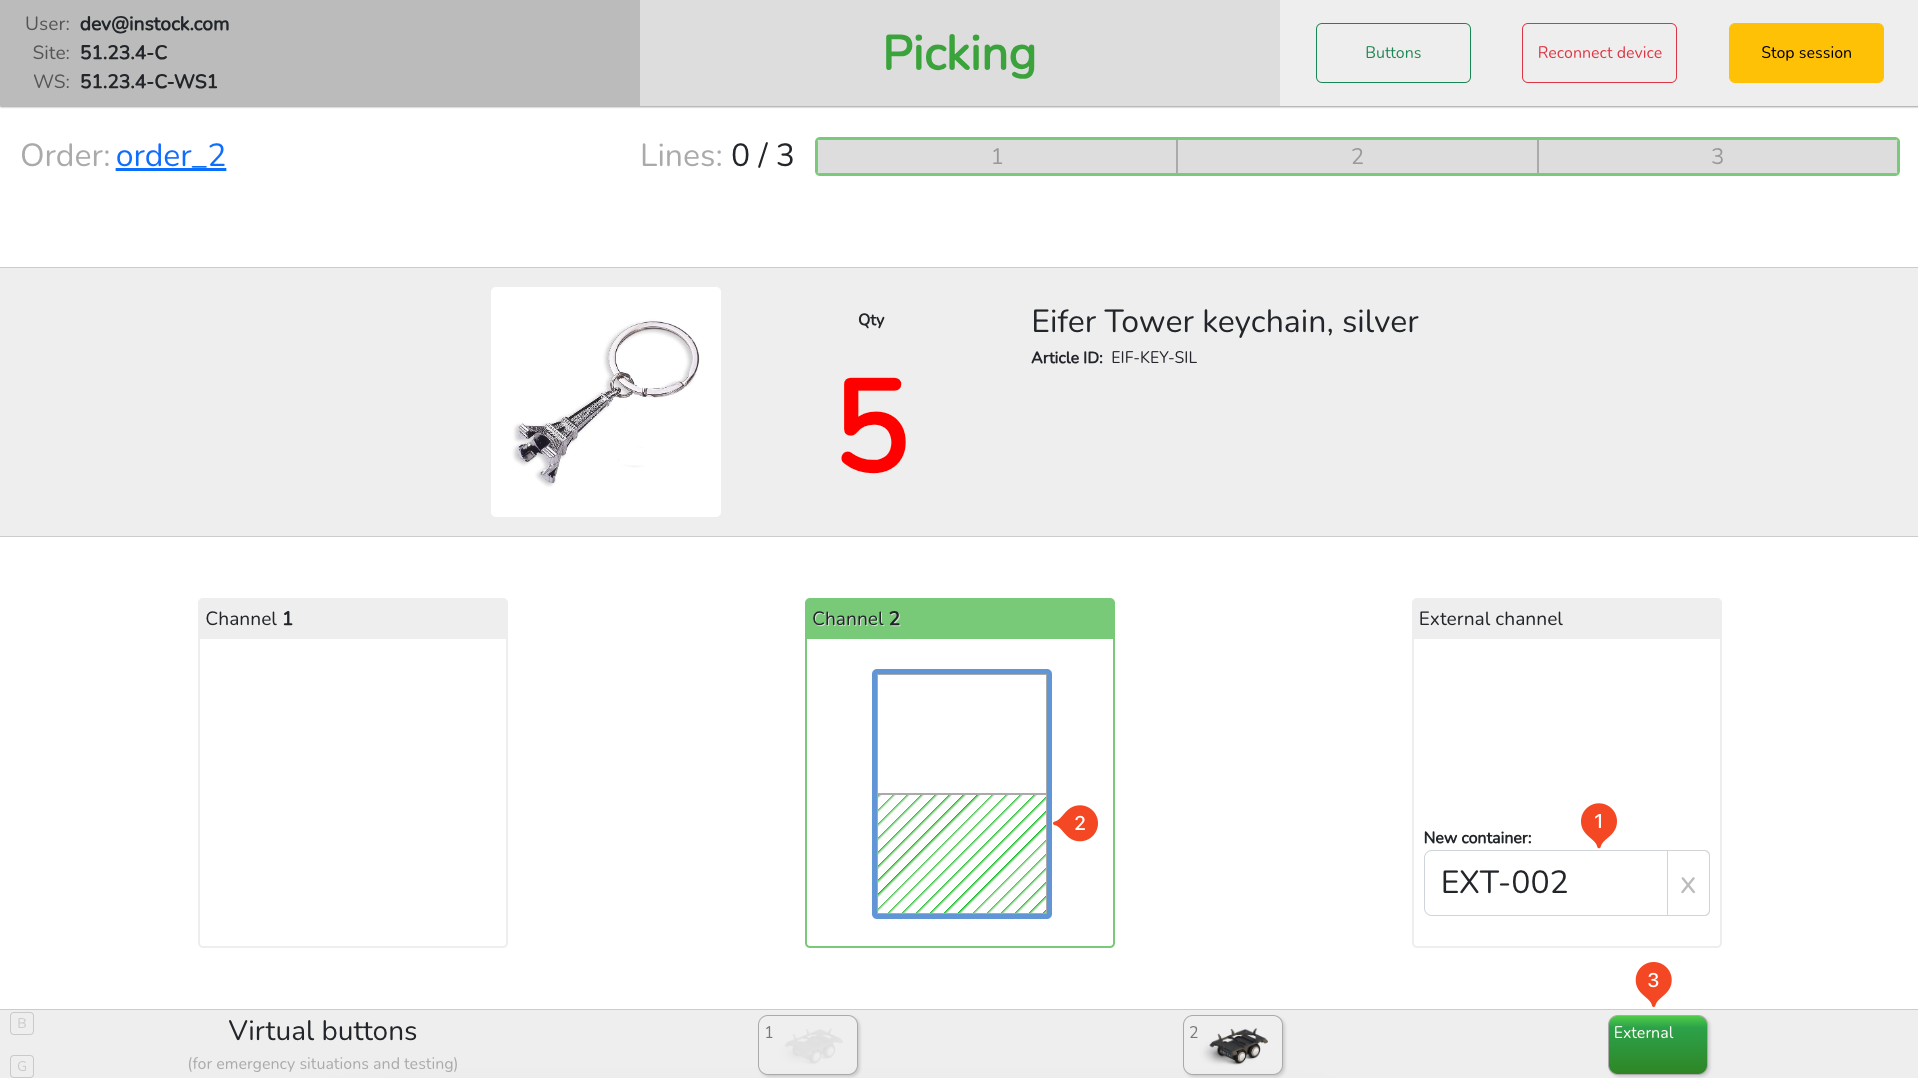
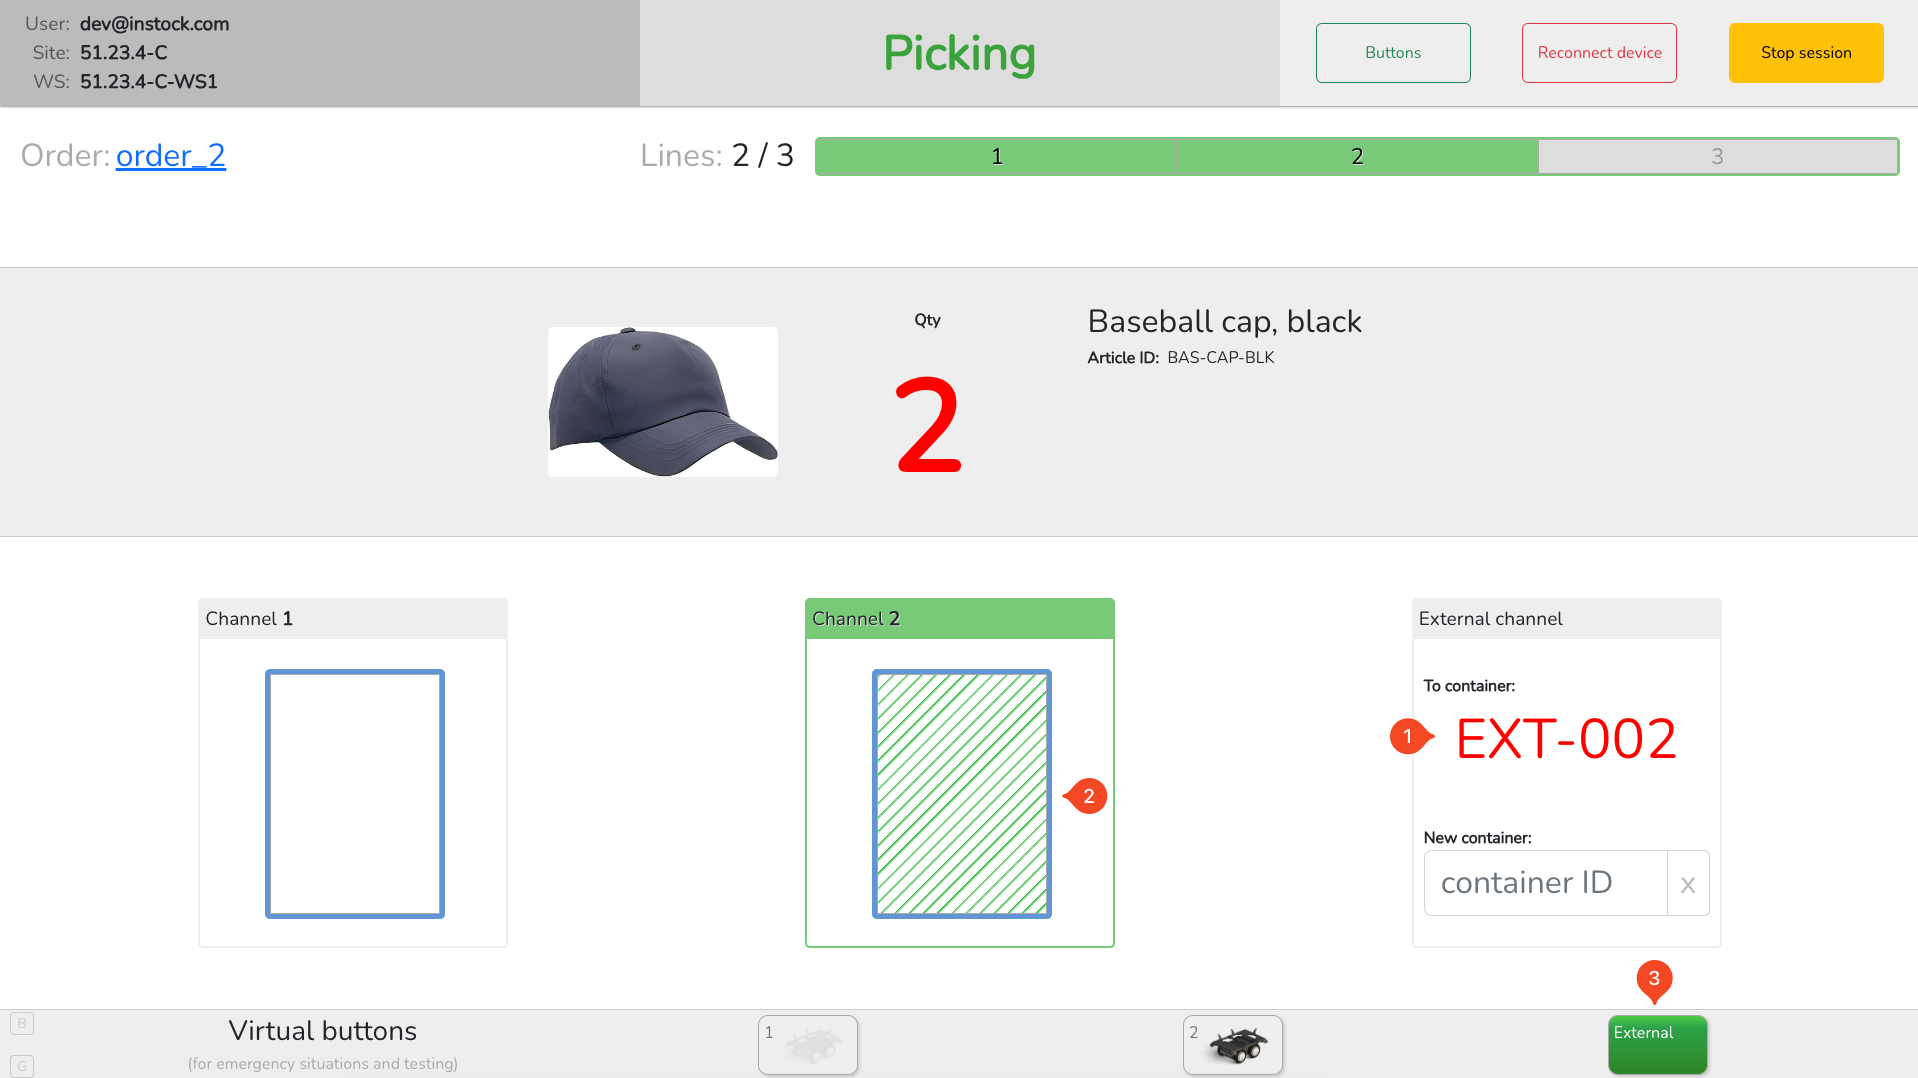
- Scan target container ID, which represented by “To channel” in the UI (1)
- Pick the required quantity from the source bin (2). If bin contains dividers, the appropriate bin cell will be highlighted in the UI.
- As soon as articles are picked and put into external container, press external “Put-to-light” button (3) to release the robot back into the ASRS
- If order contains several lines, all picked lines are highlighted in green
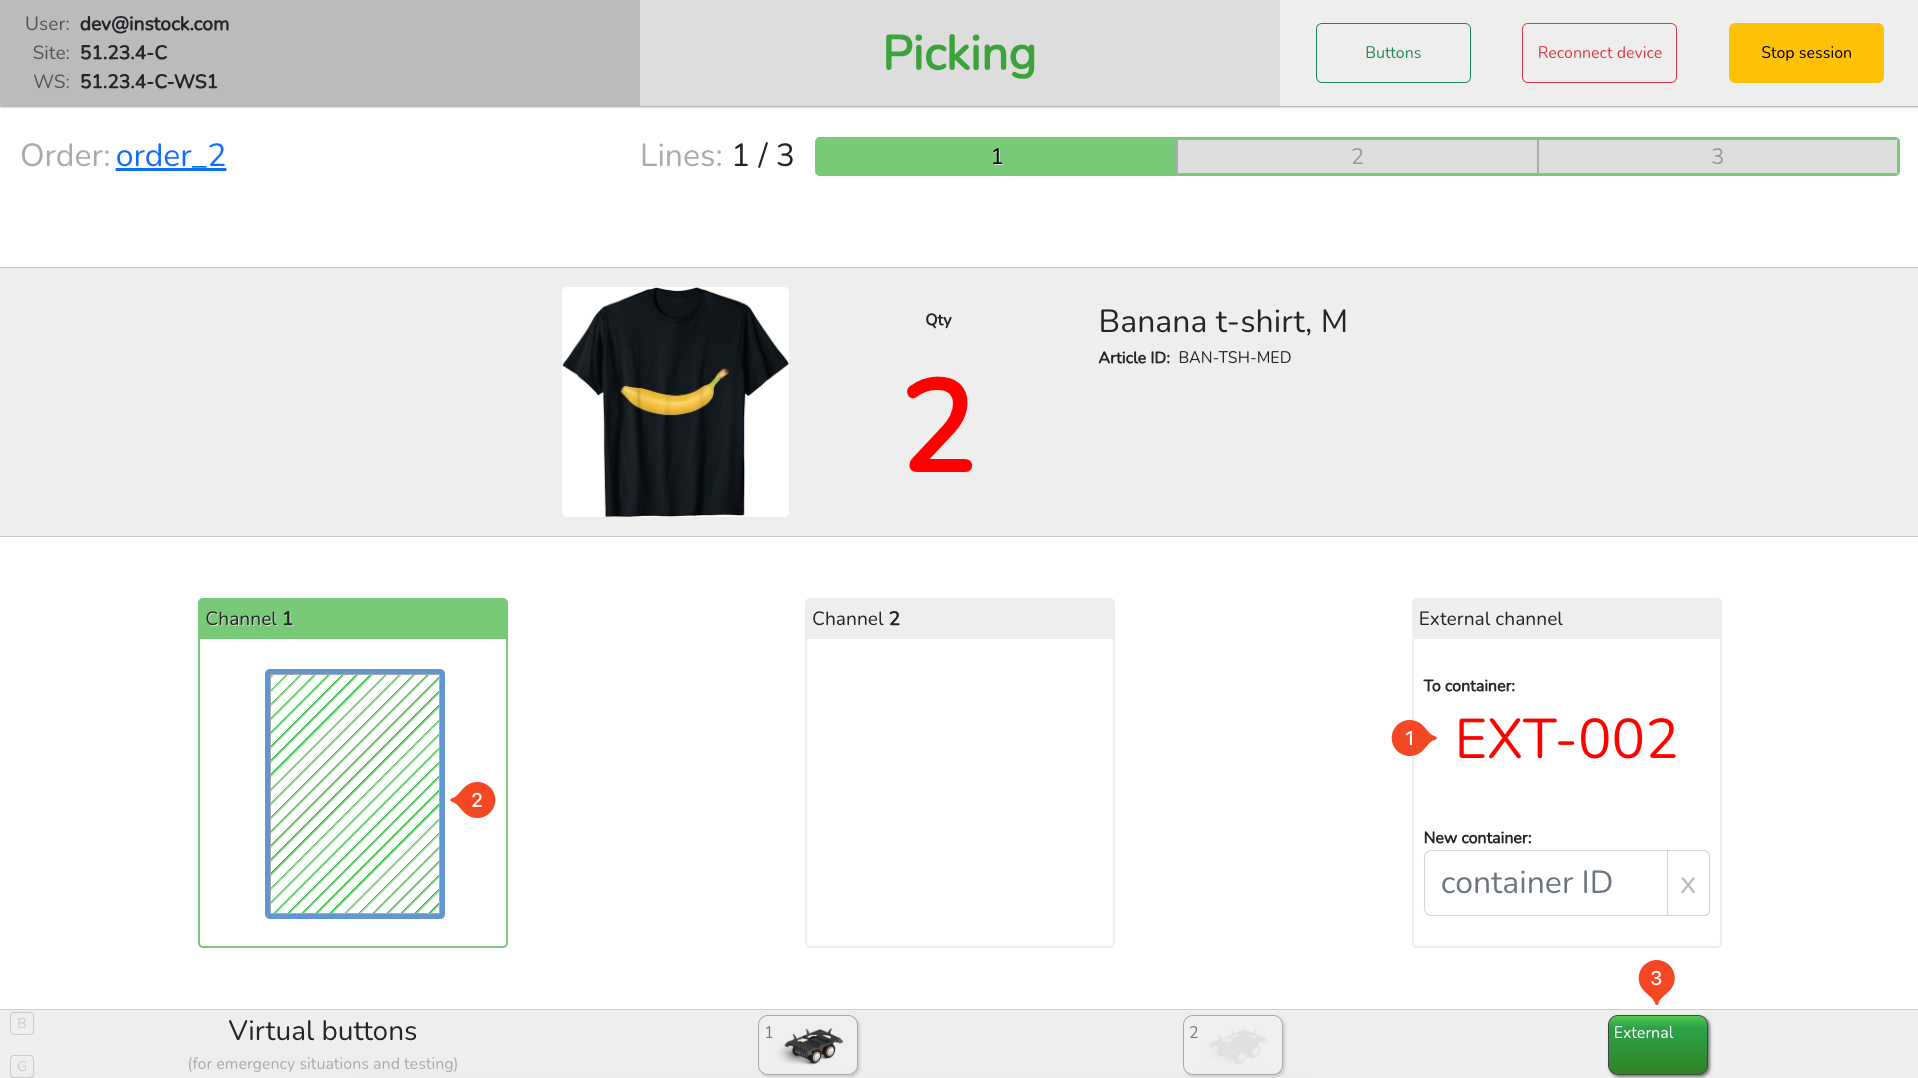
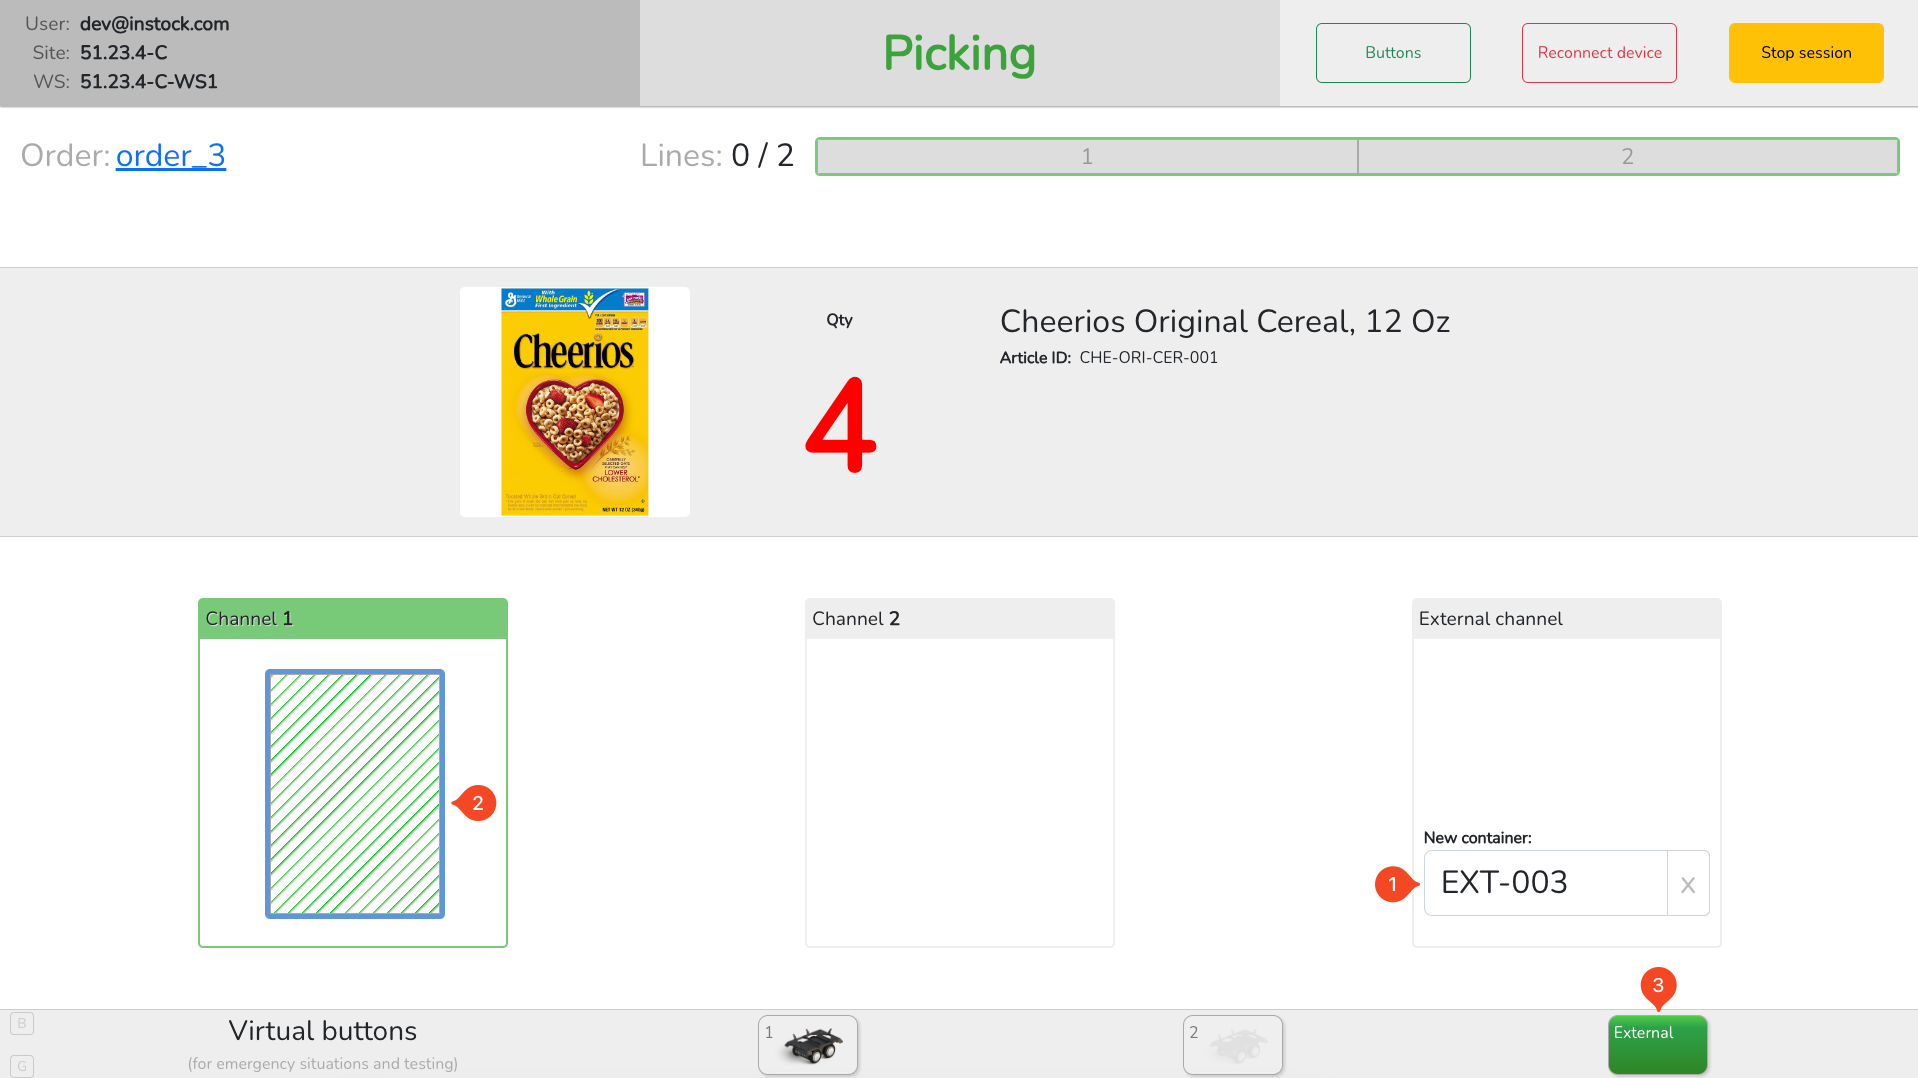
- Current external container is set at “To channel” field (1)
- Pick the required quantity from the source bin (2)
- As soon as articles are picked and put into external container, press external “Put-to-light” button (3) to release the robot back into the ASRS
- Repeat previous step to pick all lines of the order
- As soon as customer order has been picked, “To container ID” field will be empty, scan new container ID to proceed with picking new order (1)
- Pick the required quantity from the source bin (2)
- As soon as articles are picked and put into external container, press external “Put-to-light” button (3) to release the robot back into the ASRS
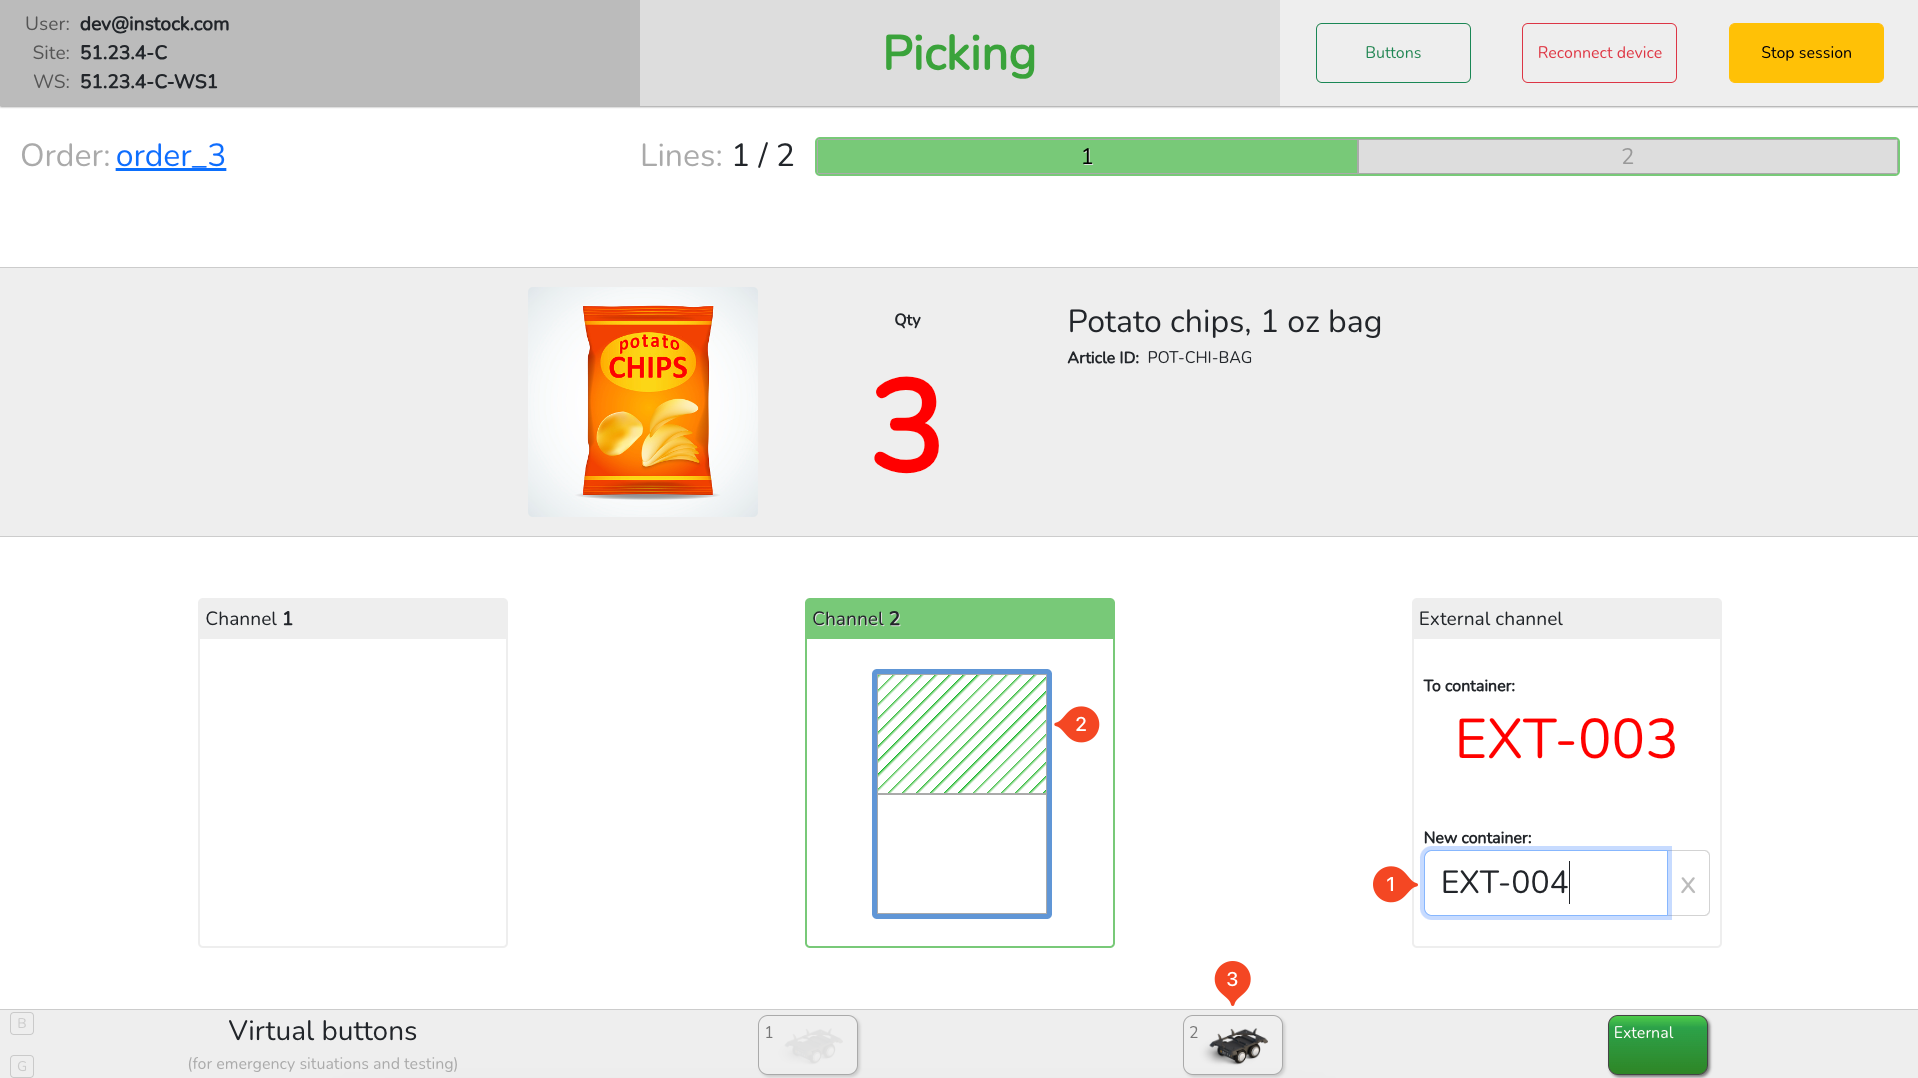
- If you need to change external container, scan new container ID (1)
- Pick the required quantity from the source bin (2)
- As soon as articles are picked and put into external container, press external “put-to-light” button (3) to release the robot back into the ASRS, “To container” field will be updated with new container ID
- Continue picking as needed
Stop picking session #
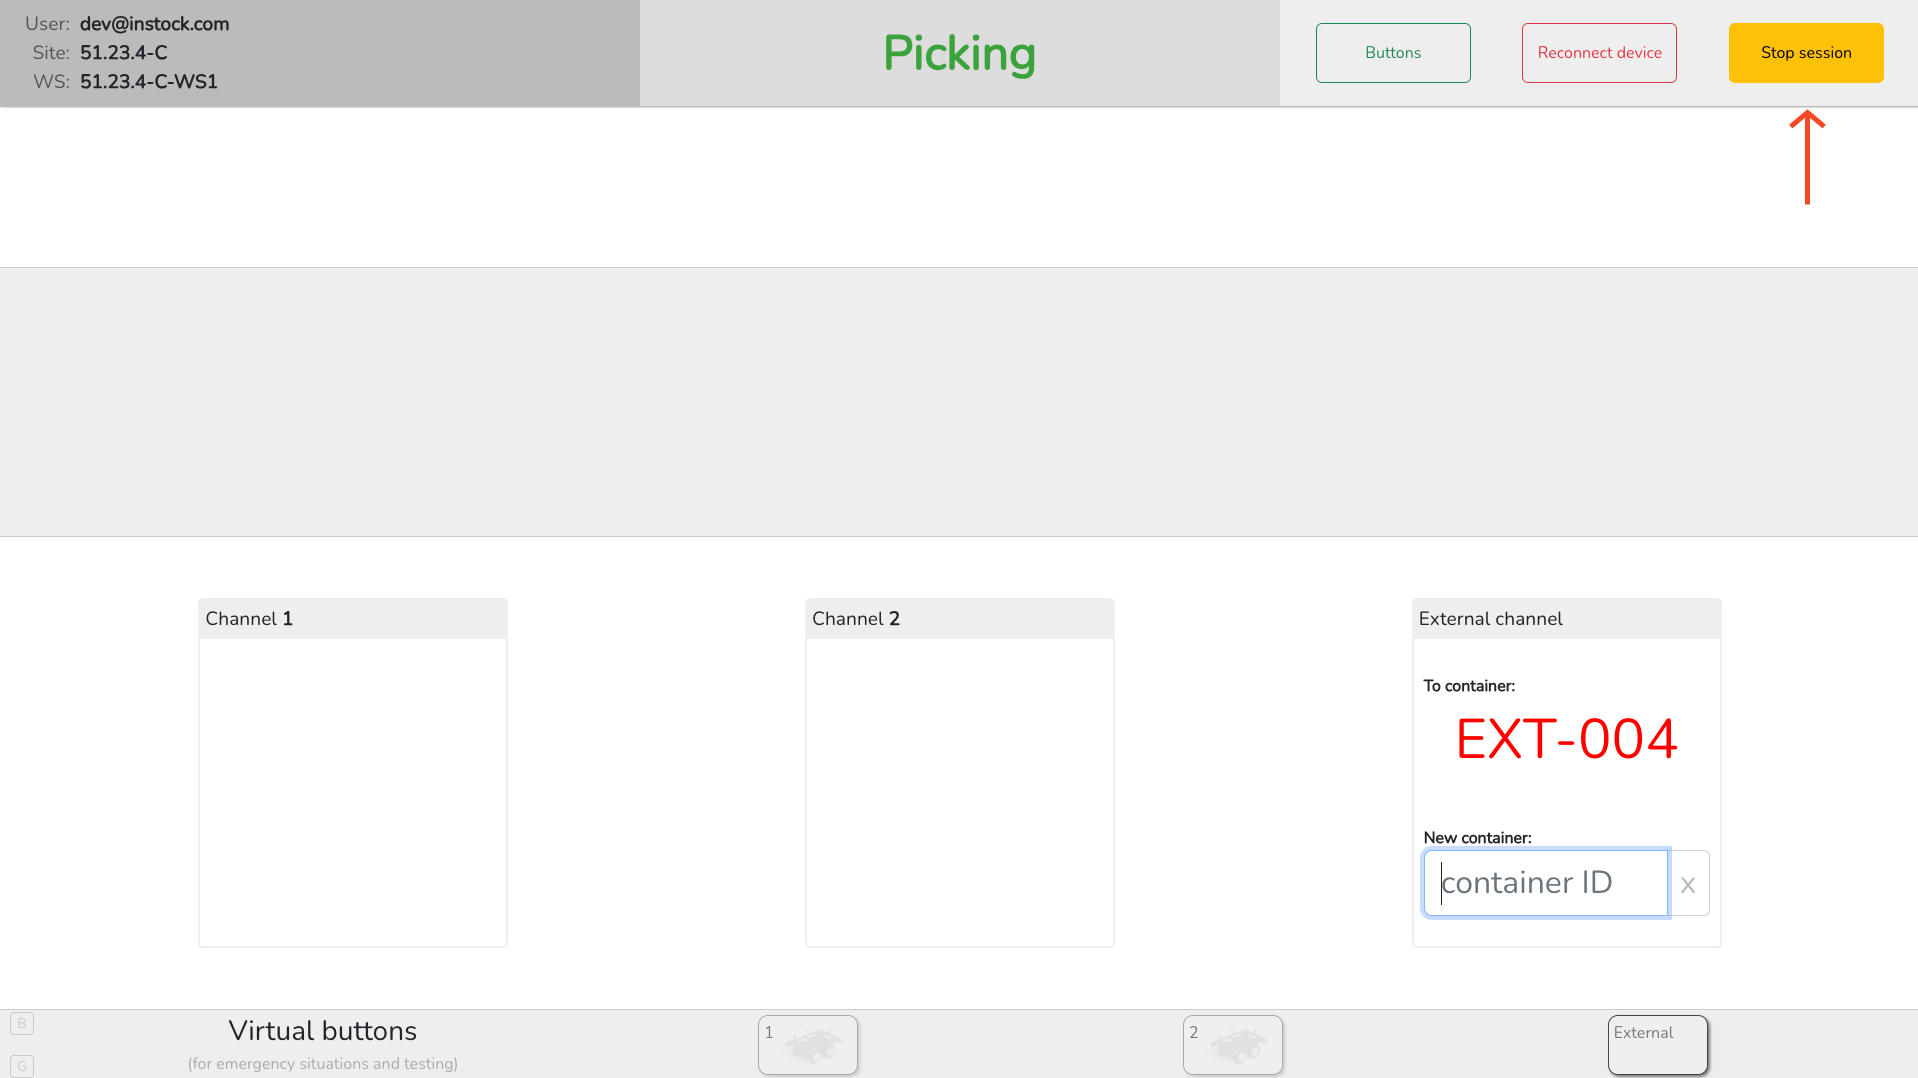
- If you need to stop current picking session, press “Stop session” button
- After stopping session you will be redirected to select “Workstation” mode